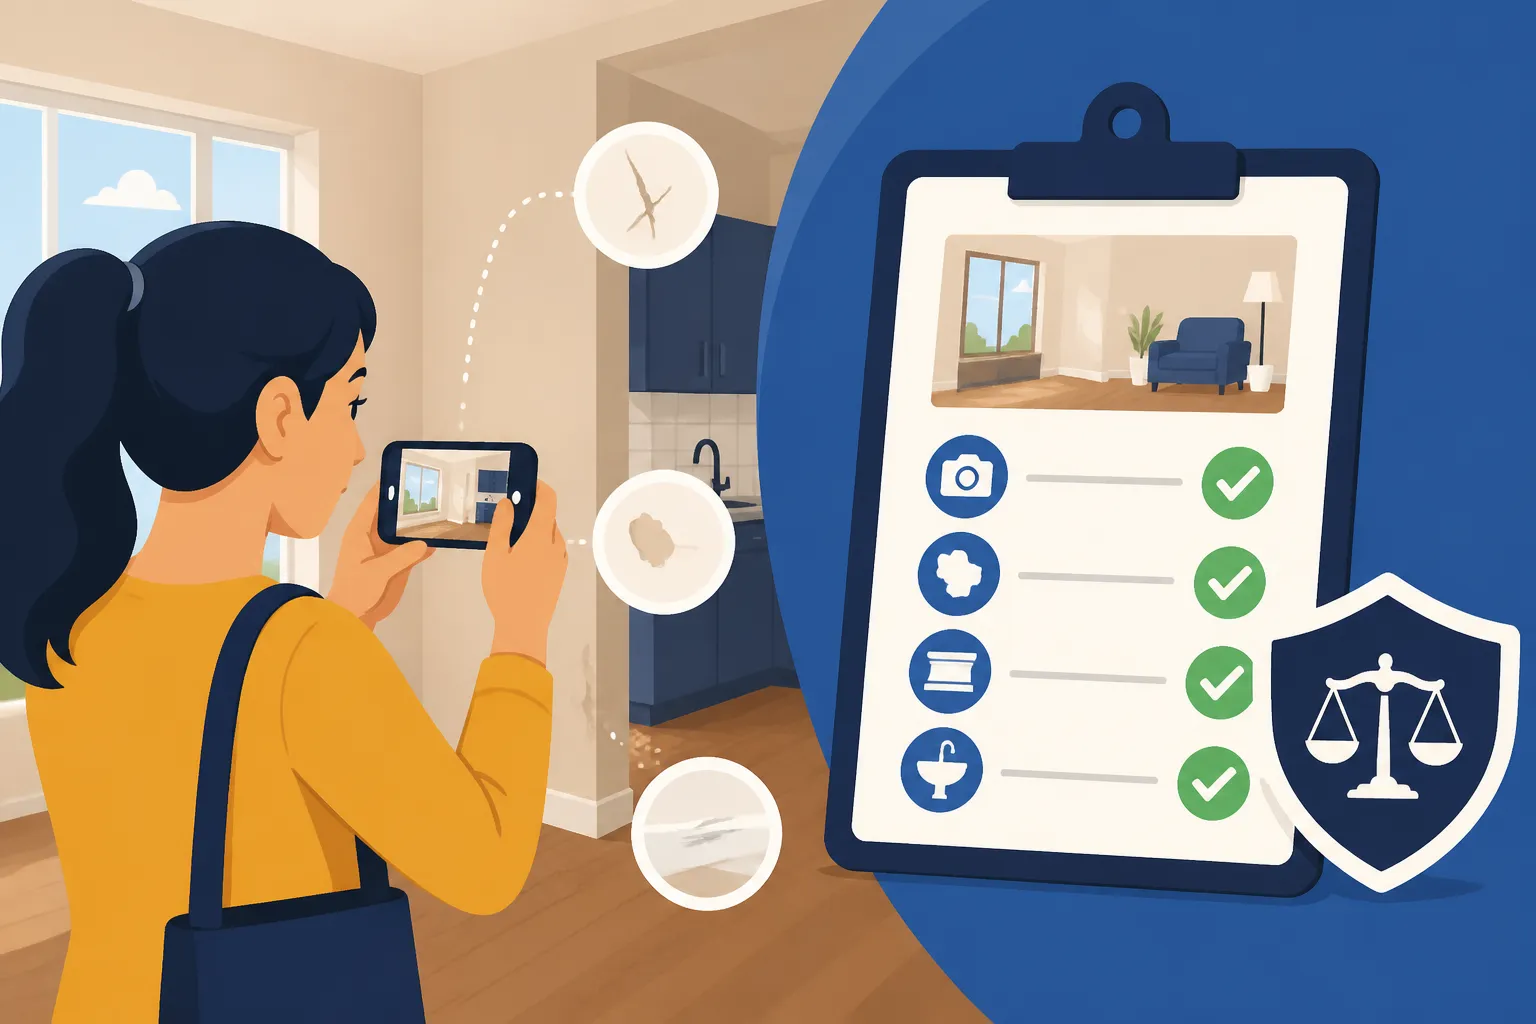
How to Document Your Apartment at Move-In
You finally have the keys to your new place in your hand, and the urge to just drop your boxes, order a pizza, and collapse onto your mattress is overwhelming. But skipping a thorough walkthrough right now is the single biggest mistake you can make as a renter. This guide provides the exact framework you need to document your apartment’s condition so you can protect your cash and ensure you actually get your money back when you eventually move out.
Why Initial Documentation is Your Best Insurance Policy
When you move into a new rental, whether it is a sleek studio in downtown Seattle or a converted loft in Brooklyn, you are entering into a high-stakes financial agreement. Your security deposit, often equivalent to one or two months of rent, is essentially held hostage by the condition of the unit. Without a detailed record of how the place looked the day you arrived, you are relying entirely on your landlord's memory or their version of "clean." This is where disputes begin, and unfortunately, the tenant usually loses if they lack evidence.
The Psychology of the Security Deposit Dispute
Landlords and property managers handle dozens, if not hundreds, of turnovers a year. By the time you move out in twelve or twenty-four months, the property manager might have changed, or the landlord might have simply forgotten that the crack in the bathroom tile was there when you arrived. They see a flaw, they check their records, and if they don't see a note about it, they assume you caused it. It isn't always malicious; it is often just the result of a high-volume business. However, for you, that "forgetfulness" can cost hundreds of dollars.
Understanding Normal Wear and Tear vs Damage: Complete Guide is crucial here. Landlords cannot legally charge you for the inevitable aging of a property, such as slightly faded paint or carpet traffic patterns. However, without move-in photos, a landlord might try to claim that the carpet was brand new when you moved in, even if it was already five years old. Documenting the "before" state creates a baseline that prevents your landlord from overreaching. It shifts the dynamic from an argument of "he-said, she-said" to an objective review of dated evidence.
Legal Weight of Move-In Evidence
In many jurisdictions, the burden of proof regarding damages lies with the landlord, but having your own documentation makes it nearly impossible for them to win a frivolous claim in small claims court. If you ever find yourself Suing a Landlord for Your Deposit (Small Claims & Penalties), your move-in photos and signed inspection sheet will be your primary exhibits. Judges love clear, dated, and organized evidence. It shows that you were a responsible tenant from day one.
Furthermore, many state laws require a landlord to provide a written statement of the apartment's condition upon move-in. If you live in a state where Security Deposit Laws by State (2026) mandate a move-in checklist, failing to complete it could actually waive some of your rights. By being meticulous now, you are essentially pre-litigating your move-out. You are making it so difficult for a landlord to wrongfully withhold your money that they likely won't even try.
The Essential Move-In Inspection Toolkit
You don't need to be a professional home inspector to do this right, but you do need a few specific tools to catch the issues that most people miss. Most renters walk through, see that the walls are painted, and think, "Looks good!" But a real inspection goes deeper than the surface. You need to check the functionality of the home's systems, not just the aesthetics.
Digital Tools and Apps
In the modern rental market, technology is your best friend. Many property managers now use platforms like TurboTenant to streamline the move-in process, allowing you to upload photos directly to a tenant portal. If your landlord uses TurboTenant, take full advantage of this feature because it creates a permanent, time-stamped record that both parties can access. This transparency reduces the chance of a "lost" paper trail later on.
If your landlord is more old-school and didn't provide a form, you shouldn't just skip it. You can use a service like LawDepot to find a state-specific move-in/move-out inspection checklist. Having a professional-looking document to hand over to your landlord sends a clear message that you know your rights and are taking the process seriously. Additionally, consider using a cloud-based storage system like Google Drive or Dropbox to save your photos immediately, ensuring they aren't lost if your phone breaks.
High-Tech vs Low-Tech Evidence
While your smartphone camera is the star of the show, a few low-tech items can help you document hidden problems. Bring a small nightlight or a phone charger to test every single electrical outlet in the unit. It is incredibly common to find that one outlet in the bedroom doesn't work, and you don't want to be blamed for "shorting out the circuit" later. Also, a high-lumen flashlight (the one on your phone is okay, but a dedicated light is better) can help you spot mold under sinks or water stains on the ceiling that might be hidden by fresh paint.
Don't forget to document your own assets as well. While you are documenting the apartment's condition, it is a great time to take photos of your furniture and electronics for your records. This is particularly useful if you have a policy through Lemonade or another renters insurance provider. If a pre-existing pipe leak (which you should document!) later ruins your sofa, having those move-in photos of the area and your belongings will make the insurance claim process much smoother.
Mastering the Art of the Photo and Video Walkthrough
Taking photos is the most critical part of the process, but there is a right way and a wrong way to do it. A blurry photo of a kitchen floor doesn't prove anything. You need a systematic approach that covers every square inch of the property.
Photography Best Practices for Renters
Start by taking "establishing shots" of every room. These are wide-angle photos that show the entire space from multiple corners. This provides context for the more detailed photos you will take later. Once you have the wide shots, move in for the "detail shots." If there is a scratch on the hardwood floor, place a common object like a quarter or a key next to it to provide a sense of scale. Without a reference point, a judge or landlord can't tell if a scratch is one inch or one foot long.
Focus heavily on high-traffic areas and "danger zones." The areas behind doors (where knobs hit the wall), under windows (where moisture accumulates), and around the stove (where grease builds up) are common places for deductions. If you find a stain, take a photo of it from a distance and then a macro shot up close. Ensure your camera's "Time and Date" stamp is enabled in the metadata. This is a standard feature on most iPhones and Androids, but it is worth double-checking in your settings.
Recording the "Undercarriage" of the Unit
Photos are great, but a continuous video walkthrough is even better for capturing the "feel" and "sound" of an apartment. Start the video outside the front door, showing the unit number, and then walk through the entire place in one continuous take. Narrate what you see. Say things like, "I am in the primary bedroom; there is a small bleach stain on the carpet near the closet, about two inches wide."
Don't just look at the walls. Open every cabinet and drawer. Film the inside of the oven and the microwave. If the previous tenant left a layer of burnt cheese in the bottom of the oven, you want that on video. Otherwise, you might find yourself asking, Can My Landlord Charge a Cleaning Fee From the Deposit? when you move out because you didn't prove it was dirty when you arrived. Also, film the ceiling in every room to prove there are no active water leaks or sagging drywall.
Navigating the Move-In Inspection Checklist
A checklist keeps you organized and ensures you don't forget the small things. Many tenants ignore the "invisible" parts of the apartment, but those are often the most expensive to repair. Using a structured Move-In / Move-Out Inspection Guide is the best way to ensure nothing slips through the cracks.
Room-by-Room Priority List
In the kitchen, check the seal on the refrigerator door. If it is loose, the fridge will run constantly, driving up your electric bill and potentially failing. Check the garbage disposal for any grinding noises. In the bathroom, look for "soft spots" in the flooring around the toilet, which can indicate a slow, hidden leak. These are the types of issues that can lead to a landlord claiming you caused water damage.
| Room Area | Item to Check | What to Look For |
|---|---|---|
| Kitchen | Cabinets/Drawers | Smooth sliding, intact hinges, no pest droppings |
| Kitchen | Appliances | Oven cleanliness, fridge seal, dishwasher racks |
| Bathroom | Plumbing | Water pressure, drainage speed, toilet stability |
| Bathroom | Surfaces | Caulking around tub, cracked tiles, mirror desilvering |
| Living Areas | Flooring | Carpet stains, wood scratches, transition strips |
| Living Areas | Walls/Ceiling | Nail holes, scuffs, water spots, peeling paint |
| General | Entry/Safety | Lock functionality, smoke detector batteries, window locks |
Testing the Invisible Systems
Don't just look at the AC unit; turn it on. If it is the middle of winter in Chicago, you still need to verify that the cooling system kicks in, and vice versa for the heat in the summer. Check the water pressure in the shower and how long it takes for the water to get hot. If it takes ten minutes to get lukewarm water, you need to report that immediately so it's on the record as a pre-existing condition.
Window seals are another "invisible" issue. Feel for drafts around the edges of the windows. If the seals are blown, your utility bills will skyrocket, and moisture might build up between the panes, causing fogging. Landlords sometimes try to charge for "damaged windows" when the seal has simply failed due to age. Documenting this now protects you from being blamed for glass that looks "dirty" or "damaged" later.
Communicating Your Findings to the Landlord
Documentation is useless if it stays on your phone. You must "serve" this information to your landlord or property manager within the timeframe specified in your lease—usually 3 to 7 days after move-in. This turns your private notes into a mutual agreement on the unit's condition.
The Proper Way to Submit Your Report
If your landlord uses a digital portal like TurboTenant, uploading your photos there is often sufficient. However, I always recommend a "belt and suspenders" approach. Send a formal email to the landlord or property manager. Attach a few of the most significant photos and include a link to a shared folder containing the rest. This creates a time-stamped digital paper trail that cannot be easily deleted or ignored.
If you are dealing with an old-school landlord who prefers paper, make two copies of your checklist. Sign both, have the landlord sign both, and keep one for your records. If they refuse to sign it, send it to them via Certified Mail with a Return Receipt Requested. This proves that they received your report, even if they chose not to acknowledge it. If you ever have to send a Security Deposit Demand Letter (How-To + Template) later, having proof that you submitted your move-in report will be a powerful tool.
Handling Pushback on Pre-existing Issues
Sometimes a landlord will get defensive. They might say, "Oh, we know about that scratch, don't worry about it." Do not fall for this. "Don't worry about it" is not a legal defense in court. Respond politely but firmly: "I appreciate that you're aware of it! I’m just documenting it on the official form so we’re both protected and there’s no confusion when I eventually move out."
If the landlord refuses to acknowledge a major issue, such as mold or a broken appliance, you may need to look into What If My Landlord Never Did a Move-In Inspection? or even local code enforcement. Remember, documenting the problem is the first step toward getting it fixed. It also protects you if you eventually need to argue that the unit was not in the condition promised.
Long-Term Storage and Protection of Your Proof
Your move-in documentation needs to survive for the duration of your tenancy. If you stay in an apartment for five years, those photos from year one are your most valuable assets when you finally leave. You need a storage strategy that doesn't rely on a single device.
Cloud Storage and Redundancy
Do not just leave the photos in your phone's camera roll. Create a dedicated folder in the cloud (Google Drive, iCloud, or Dropbox). Name the folder clearly: "123 Main St Move-In Photos – [Date]." Share this folder with a trusted friend or family member. This way, if you lose access to your account or your phone is stolen at a music festival three years from now, you haven't lost your security deposit protection.
You might also consider using the legal templates from LawDepot to create a "Memorandum of Condition" that references the digital folder. This is a simple one-page document that says, "Both parties acknowledge that the photos located at [URL] represent the condition of the property on [Date]." Having the landlord sign this effectively "locks in" your evidence.
The Final Handoff and Peace of Mind
As you settle into your new home, take a moment to realize that the two hours you spent inspecting and documenting have likely saved you thousands of dollars in future stress. You now have a clear record that can be compared against your move-out inspection. If your landlord eventually tries to be unreasonable, you can point to your move-in file and say, "Actually, that was there when I moved in. Here is the photo from June 2026."
This level of preparation also helps if you have roommates. Use Security Deposit Rules for Roommates to establish who is responsible for what. If everyone knows there is a baseline of evidence, it encourages everyone to take better care of the place. You have effectively removed the "easy" opportunity for a landlord to keep your money, ensuring that you can focus on enjoying your new home rather than worrying about your deposit.
Disclaimer
This guide is for informational purposes only and does not constitute legal advice. Landlord-tenant laws vary significantly by state and local jurisdiction. You should consult with a qualified attorney or a local housing authority to understand the specific regulations and requirements in your area. Always refer to your signed lease agreement as the primary governing document for your tenancy.